
How to Spot Dutch Elm Disease in Summer: A Seasonal Checklist
A practical summer inspection guide to spotting Dutch elm disease — flagging leaves, yellowing, early leaf fall and the brown sapwood streaking that confirms it.
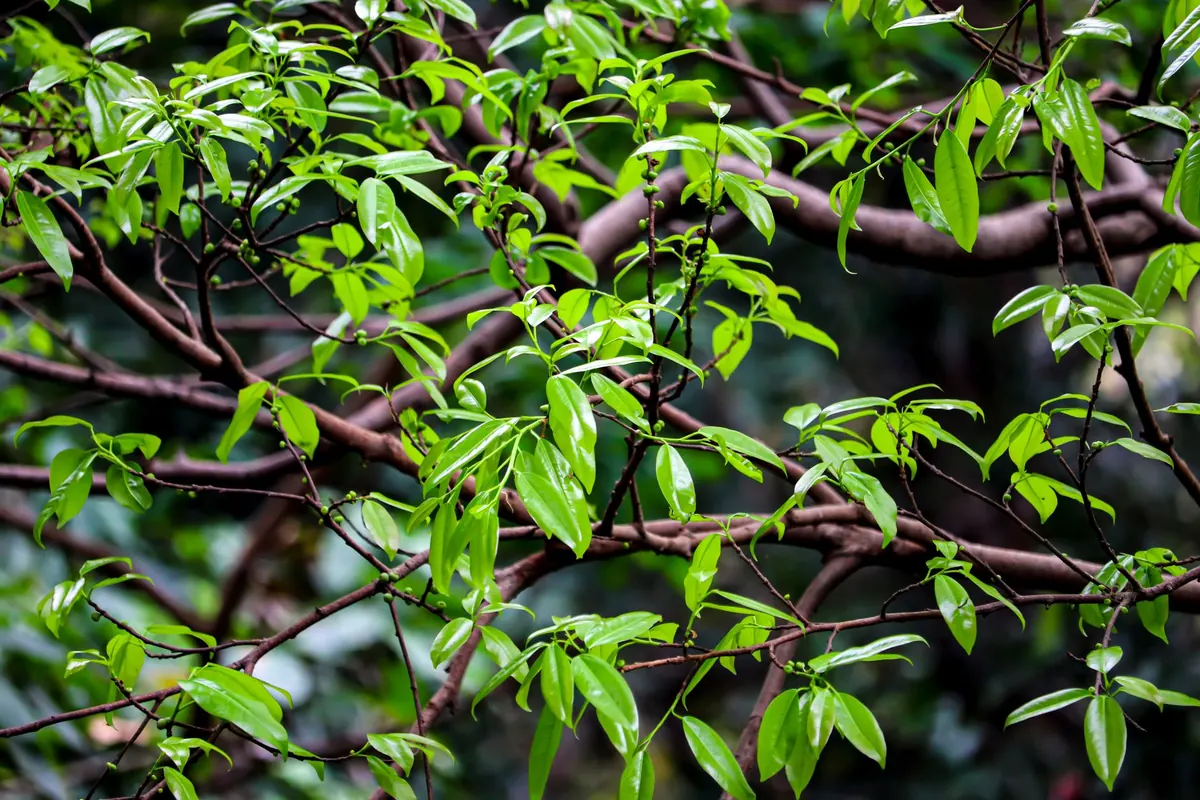
By mid-July, an elm that looked immaculate in May can be carrying a scatter of curled, dull leaves on one outer branch. That single flag is often the first thing you notice, and the weeks from late June to early September are when Dutch elm disease is easiest to read. Warm weather, heavy demand for water and the bark beetle season all combine to make summer the diagnostic window. This checklist is for anyone inspecting a garden wych elm, a hedgerow of suckering field elm, or a street tree on a regular round.
Why summer gives the clearest picture
Dutch elm disease is a vascular wilt. The fungus is carried by elm bark beetles as they feed in the crotches of young twigs, and it also travels underground between elms whose roots have grafted together. Once inside the tree, it spreads through the water-conducting tissue, and the tree responds by blocking those vessels. Water stops reaching the leaves, so they flag, discolour and die — but only when the tree is under real demand for water. That is why a mild, damp June can hide an infection that a hot July exposes within days.
Two practical consequences follow. First, look up: early symptoms usually show in the upper crown and outer branches rather than the shaded interior. Second, look for asymmetry. A tree failing on one side while the rest looks fine is more suspicious than one that is uniformly droopy, which usually points to soil, root or drainage conditions.
The summer checklist: what to look for
- Flagging: individual shoots whose leaves hang limply or curl inwards, often on the sun-exposed edge of the crown.
- Colour change: leaves dulling from bright green to grey-green, then yellow, then brown. Some elms go a rusty bronze instead.
- Leaf fall in high summer: a scatter of yellow-brown leaves under the tree in July or August, well before autumn.
- Brown streaking: dark brown or olive discolouration in the sapwood ring just beneath the bark of a wilting branch.
- Progression: dieback creeping from one limb into its neighbours over two to four weeks, sometimes faster in a heatwave.
- Beetle clues: small round exit holes roughly the size of a match head in the bark, fine sawdust, or beetles active on recently dead wood.
Flagging and wilting: the first sign most people spot
Affected leaves lose their stiffness, curl at the edges and hang like washing. In the very early stages the shoot may look tired at midday and slightly better by evening, which is why the useful test is the morning check: if a shoot is still limp the next day, and the soil around the tree is not dry, that is more worrying than a midday droop that lifts overnight. Drought wilt is usually uniform across the crown and recovers after watering or rain. Dutch elm disease wilt does not recover, and it spreads.
Yellowing, browning and early leaf fall
Elm species differ in how they fade. English elm tends to yellow and brown quickly; wych elm often passes through a dull bronze before the leaves crisp. What matters more than the exact shade is the pattern: colour change that starts on the outer crown, travels inwards, and is followed by bare twigs while the rest of the tree is still in leaf. By the time a whole limb has browned, the infection is well established — which is why finding the earlier yellowing stage is worth the effort.
Brown streaking: the confirming check
This is the symptom that separates Dutch elm disease from most look-alikes. Choose a branch roughly the thickness of your thumb that still carries wilting or yellowing leaves, and peel back a short strip of bark with a knife or thumbnail. Healthy elm wood beneath the bark is pale cream. Infected wood shows dark brown or olive streaks running lengthwise along the grain, often concentrated in the outer growth ring and following the line of the vessels.
Two cautions. Take the sample from the symptomatic zone rather than dead wood at the shoot tip, and check more than one branch. In the first days of infection the staining can be faint. If you want certainty, a plant health laboratory can culture the fungus from a properly taken sample — that is the only way to confirm it beyond doubt.
Look-alikes worth ruling out
- Drought or waterlogging: whole-tree wilting, no sapwood streaking, and recovery once conditions change.
- Insect defoliation: the elm zigzag sawfly and leaf miners strip and skeletonise leaves but leave the wood clean.
- Squirrel or deer damage: stripped bark, torn patches, no internal staining.
- Verticillium wilt: similar wilting and sometimes similar staining, usually paler; laboratory testing separates the two.
- Root disturbance: new paving, trenching or building work nearby can mimic a slow decline.
If you suspect Dutch elm disease
- Don't reach for the saw yet. Mark the tree, note the date, and photograph the affected branch and the peeled wood.
- Confirm the diagnosis with a sample or a professional inspection before committing to any action.
- Check permissions before any felling. Tree Preservation Orders, conservation areas and felling licences all apply in the UK — speak to your local planning authority first.
- Act on sanitation if the diagnosis is confirmed. Infected trees should be felled and the material destroyed so beetles cannot breed in it. Burn it, or chip and bury it. Never stack elm cordwood.
- Consider the neighbours. Root grafting can spread infection between elms within roughly fifteen metres, and an arborist may recommend trenching to break those connections.
- Ask about protection for remaining trees. Some high-value elms in British towns and cities receive routine protective treatment applied by trained arborists — worth discussing if you have mature elms nearby.
Avoid pruning healthy elms during the beetle flight season where you can, and keep wounds to a minimum. For anything beyond a single garden tree, take advice from a qualified arborist rather than working it out as you go.
Making it a summer habit
Walk the same route once a week from late June to the end of September. Start with the upper crown, work down to the outer branches, then look at the ground for leaves that should not be there yet. Note the date and the location of anything suspicious, and check the same tree again a few days later to see whether it has moved. Most of the value in a survey like this comes from knowing what normal looks like on your trees, so the odd shoot stands out immediately.
If something looks wrong, photograph it, peel a small patch of bark on a wilting branch, and get a second opinion. An awkward phone call costs nothing next to a mature elm.